Accessing your Windows PC printer on a Mac
A quick and easy to follow guide on how to share your printer on PC windows so you can access it on your Apple Mac.
The first thing you need to do once you are on your PC is to enable to the LDP print service using the steps below.
Step 1)

Click start or the windows icon, and type Control Panel into the text box. You will see it pop up under best match, you will need to double click to open.
Step 2)

Your Control Panel will look similar to the image above. The settings we need to change are found under Programs. You will need to only double click into the Programs link and not "uninstall a program".
Step 3)

After you have clicked into programs the window will change and should now look like the above image. From here you will be looking for Programs and features.
Once you have located Programs and features you will want to also locate the turn windows features on or off link and double click into it. There is an annotated image below showing you where it should be located.

Step 4)

The above image shows the dialog that will open after you have clicked the "turn windows features on or off" link. From here you will need to locate the Print and document services folder.

When you have located the correct folder, you will see a small plus icon next to it. You will need to click on that icon to expand the folder. The image below shows you what will open when you click on the plus icon.

Once the files are expanded you will need to locate LDP print service and check the box so that it is turned on. once you have done that click "OK" to save it and move onto the next step.

Step 5)
The next step is to share the printer you wish to use on the network.

To begin sharing you have to click out of the windows features and control panel and go back to start or windows icon button. Type in the text box devices and printers and it should show up under best match. You will need to double click it to open.
Step 6)

After you have clicked into devices and printers a window will open showing you what Devices are shared. You need to locate the printer you wish to share. In this example we will be sharing a Zebra printer.

When you have located the printer you wish to share right click it to open the menu. In the menu locate printer properties and double click it. The image below is annotated to show you where it is located.

Step 7)

A new dialog will open after you click into printer properties it should look like the image above.
The dialog will open up and be in the general tab. You need to be in the Sharing tab to share the printer, click over to it. It will be simply the next tab over from general.

Step 8)


To share the printer simply check the box next to it, so that it has a small tick inside it. The next thing you can do is type in a share name for your printer. When you create a share name you need to ensure you use no spaces. An example shared name is Windows_Zebra_Printer. This name would be easy to remember and uses no spaces. Then you can click apply and save.
Step 9)
Before moving over to the Apple Mac we need to find the Windows PC's IP address.

To begin finding the Windows IP address we need to go back to main screen and yet again click on the start or windows icon button and type Control Panel into the text box. Control Panel should come up under the best match double click it to open.

The Control Panel window will open up after you click into it, and you will need to locate the Network and internet settings. When you have located that, see there are two sub sections, click into the firs top these sub sections. It will be called view network status and tasks.
Step 10)

After you have clicked into view network status and tasks the window will change and the above image should show. You will then need to locate the connections option. We have annotated where it should be in the image below. Your connection option will either be ethernet or WiFi depending on how your Windows PC is connected. You will need to click that option.

Step 11)

After selected on whichever connection type you are using (Ethernet or WiFi) a new dialog will open, it will look like the image above. To find your IP address click into details. Once you have clicked into details a second dialog will open up like in the image below. It will show you all the network connection details but the only one you need to know about is the IPv4 address. You will need the IPv4 address for a later step so ensure you jot it down somewhere.

You have finished the steps that need to be done using the Windows PC now.
Step 12)
The next step you will need to be using your Apple Mac.
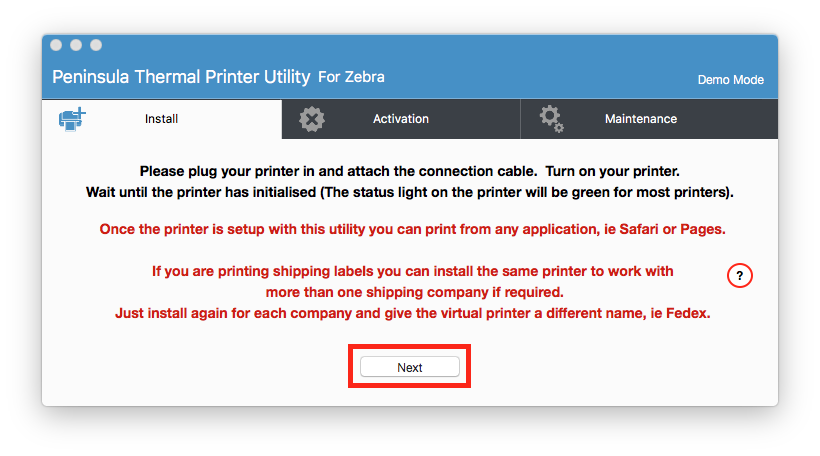
Begin by first opening the correct Peninsula Thermal utility for the printer you will be using. Enter any admin usernames and passwords when prompted to. Click next to being installing your Printer setup.

After clicking next you will be taken to the first step in installing, you will need to select Network connected printer from the dropdown menu and click next.

On the next page of the setup you will be asked to choose which network connection type you will be using. You will need to select TCP-IP LPR/LPD.

The next item to attend to on this page is entering your IPv4 address that you jotted down earlier from your Windows PC. Ensure you enter the correct details in their correct text boxes.

And finally the last thing on this page is to enter the shared name you gave your printer if you use done. if not you may click next without doing anything further. You should have jotted that down earlier also. Remember there were no spaces allowed. When you have entered your Printers shared name click the box to the right on the text box and uncheck it. When entering a custom shared name we don't need the Use default option checked on.
You can continue going through the rest of the installation process now like normal. If you need help setting up a network connected printer and want to follow a tutorial we have pages for this set up on our Peninsula support page.
If you cannot get your shared printer to work we also have a Technical support team that will help in anyway possible. Just simply email them at tech@peninsula-group.com
Peninsula webpage : https://www.peninsula-group.com
Peninsula support page : https://www.peninsula-group.com/support/
No comments :
Post a Comment